How to install RetroPie on the Raspberry Pi
So you want to play all of your old classic games? Look no further than RetroPie! In this tutorial, I will be showing you step-by-step how to install RetroPie on the Raspberry Pi.
The short answer
Step 1: Insert an SD card
Step 2: Download and install Raspberry Pi Imager
Step 3: Click ‘Choose OS’ and Select ‘RetroPie’
Step 4: Click the correct version of RetroPie for your Raspberry Pi
Step 5: Click ‘Choose SD card’
Step 6: Click ‘Write’
Requirements
A Raspberry Pi
- Raspberry Pi 4 (2GB, 4GB, 8GB)
- Raspberry Pi Zero (W)
- Raspberry Pi 3 A+
- Raspbery Pi 3 B+
- Raspberry Pi 3
- Raspberry Pi 2
| Pi 4 (2GB) | Pi 4 (4GB) | Pi 4 (8GB) | Raspberry Pi Zero W | Raspberry Pi 3 B+ |
| Raspberry 4 2GB @ Amazon | Raspberry Pi 4 4GB @ Amazon | Raspberry Pi 4 8GB @ Amazon | Raspberry Pi Zero W @ Amazon | Raspberry Pi 3 B+ @ Amazon |
Power Supply
Newer models such as the Raspberry Pi 4 use a USB-C power supply. All other models use a microUSB as their main source of power.
Micro SD Card
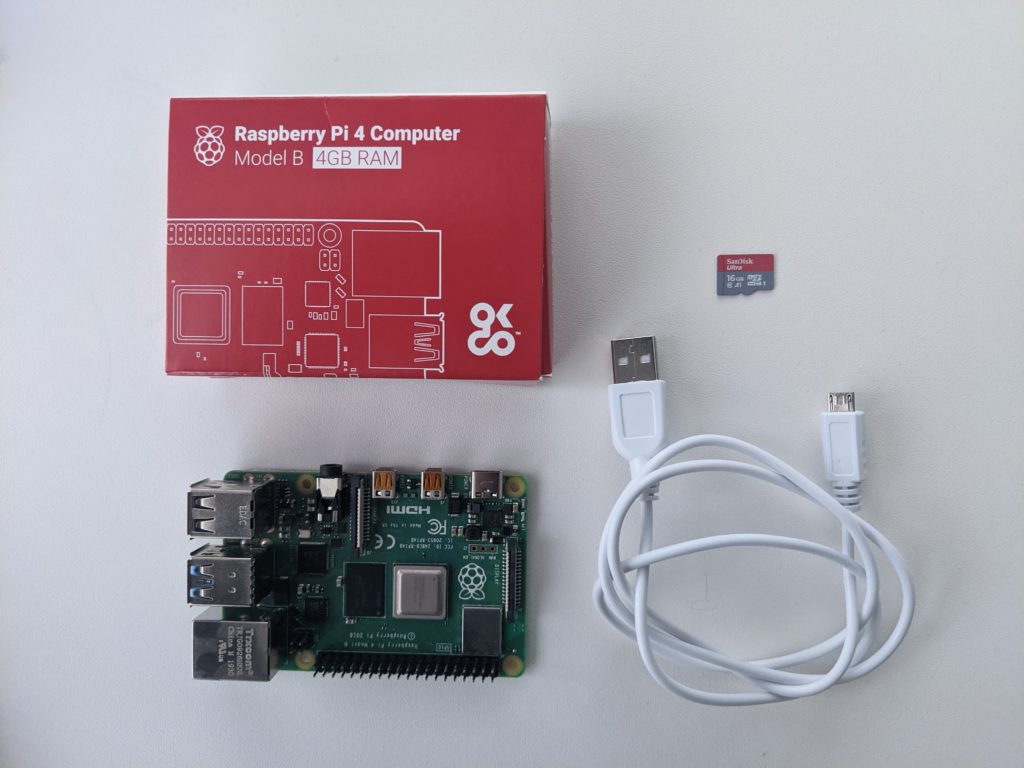
To get started with the Raspberry Pi 4 you will need to buy a micro SD card. I recommend at minimum a class 10, 16GB micro SD card. such as the SanDisk 16GB Ultra @ Amazon
I recommend getting a Raspberry Pi Starter pack such as the Canakit Raspberry Pi 4 Starter Kit (4GB RAM) @ Amazon
Installing RetroPie
Start by plugging your micro SD card into your computer.
Download and install the Raspberry Pi Imager (available for Windows, MacOS and Linux) here.
Once installed, you will see the following screen:
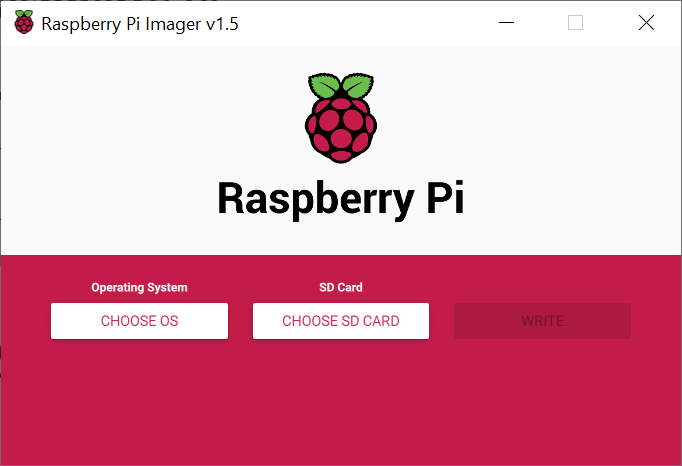
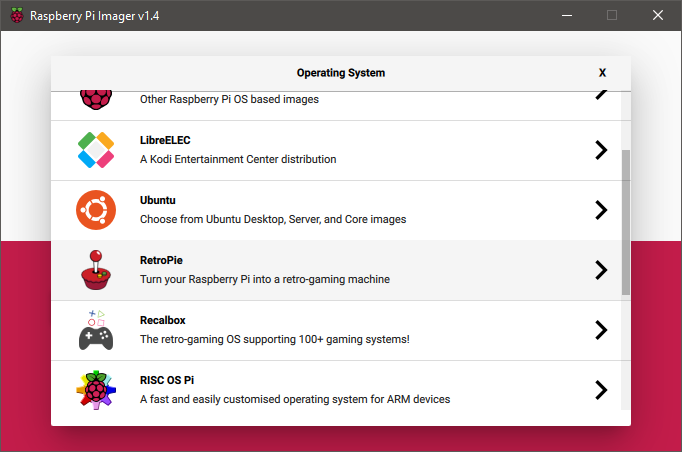
Click ‘CHOOSE OS’. Find ‘RetroPie’ and click this option:
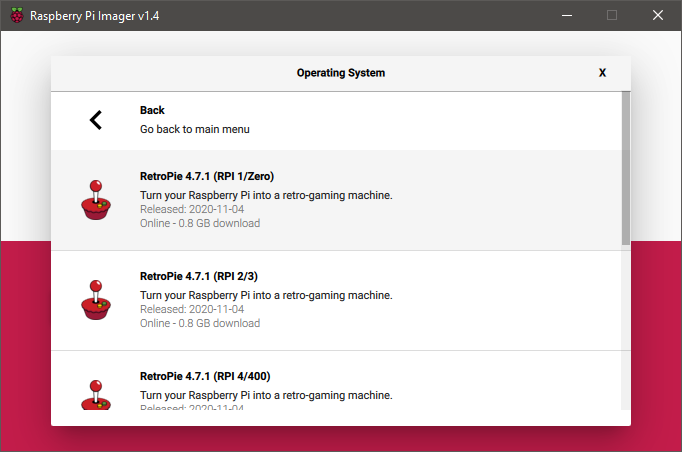
After clicking ‘RetroPie’ you will be given a few options to choose from. Chose the correct version that matches your Raspberry Pi. The Raspberry Pi versions are found in the brackets. i.e. RetroPie 4.7.1 (RPi 2/3) can be used for the Raspberry Pi 2 and Raspberry Pi 3:
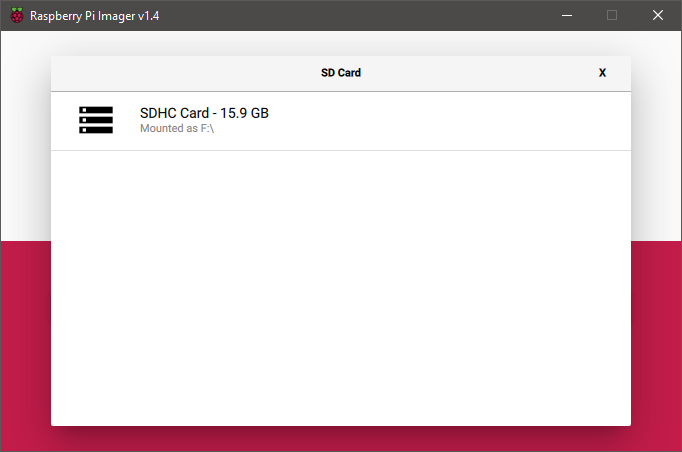
Continue by selecting your desired SD card:
And finally, click “Write”:

As the pop-up suggests, make sure that you don’t need any files that are on the card as it will be reformatted.
Safely eject your SD card, plug it back into the Raspberry Pi and turn the device on. If successful, you should see the following screen:

That’s all for how to install RetroPie on the Raspberry Pi. Interested in starting a new Raspberry Project? Checkout these projects!