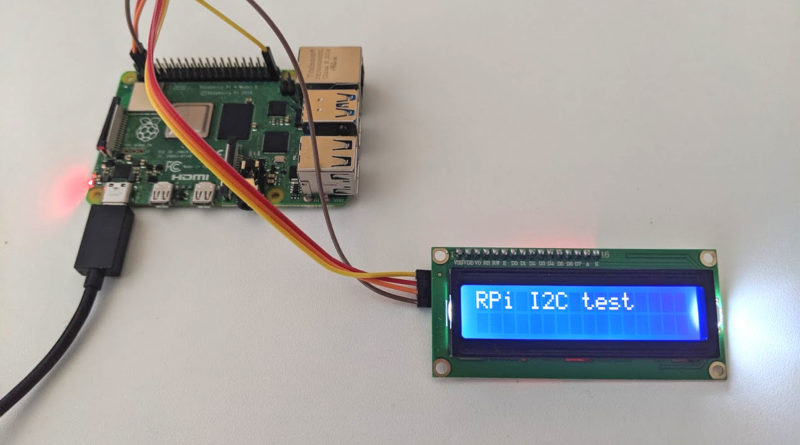
What is I2C and how to enable it?
In this tutorial I will be explaining what I2C is and how to enable it on the Raspberry Pi.
What is I2C?
I2C (inter-integrated circuit) is a low-speed serial communication protocol. It has two wires SDA and SCL. Data is sent bit by bit across the SDA line while a clock pulses on the SCL line. The clock speed is controlled by the main controller. I2C can support multiple peripherals with unique addresses
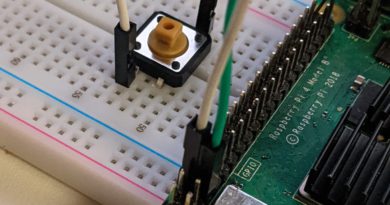
What GPIO pins can I use for I2C?
The GPIO uses pins 3, 5, 27, 28 for I2C. To make use of these pins for I2C they must be enabled. A detailed list of all pins and what they do can be found at Getting started with the Raspberry 4 GPIO (Raspberry Pi B+, 2, 3, Zero/W)
Enable I2C
Method 1
The easiest way to enable I2C is through the raspi-config interface. Open a new terminal on the Raspberry Pi and type the following command:
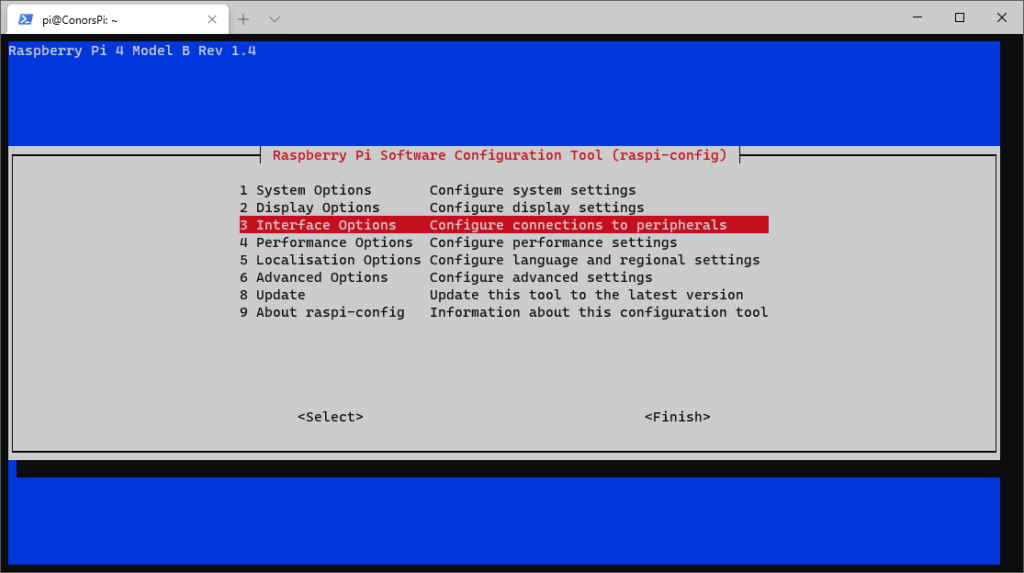
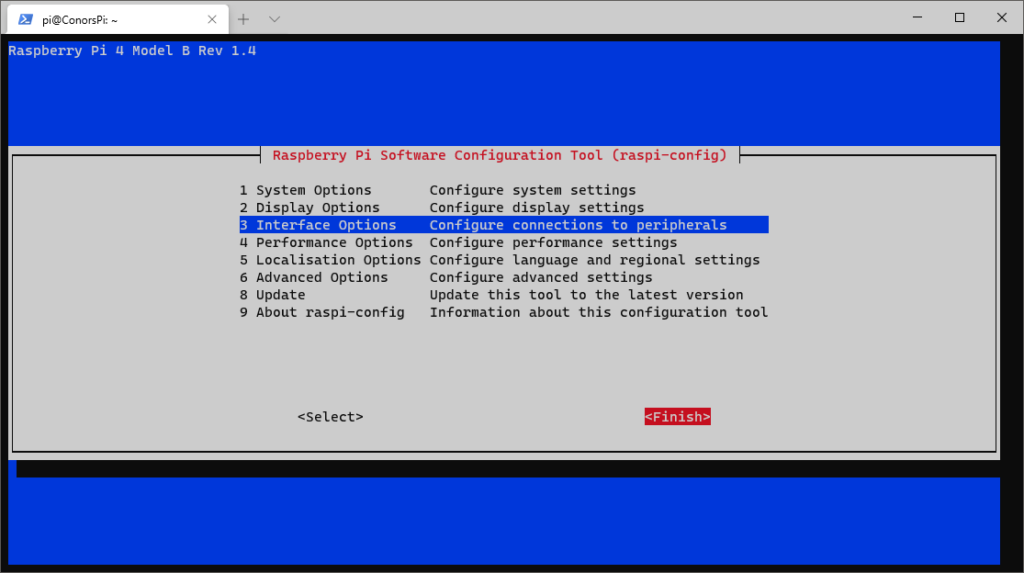
sudo raspi-configOnce the Raspberry Pi Software Configuration tool has loaded, select option 4 Interface Options:
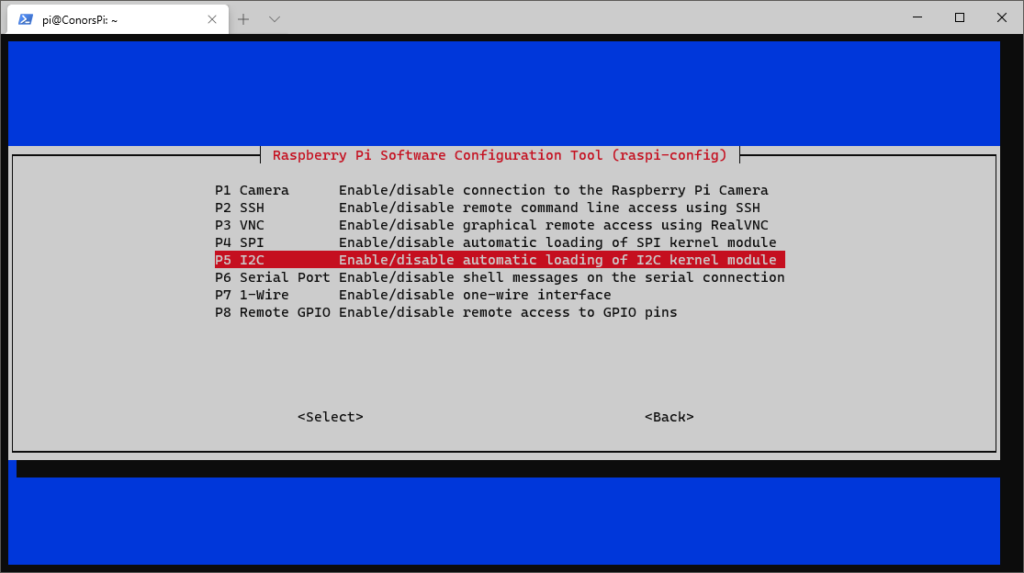
You should now see various options labled P1 – P8. Navigate to P5 I2C and click enter:
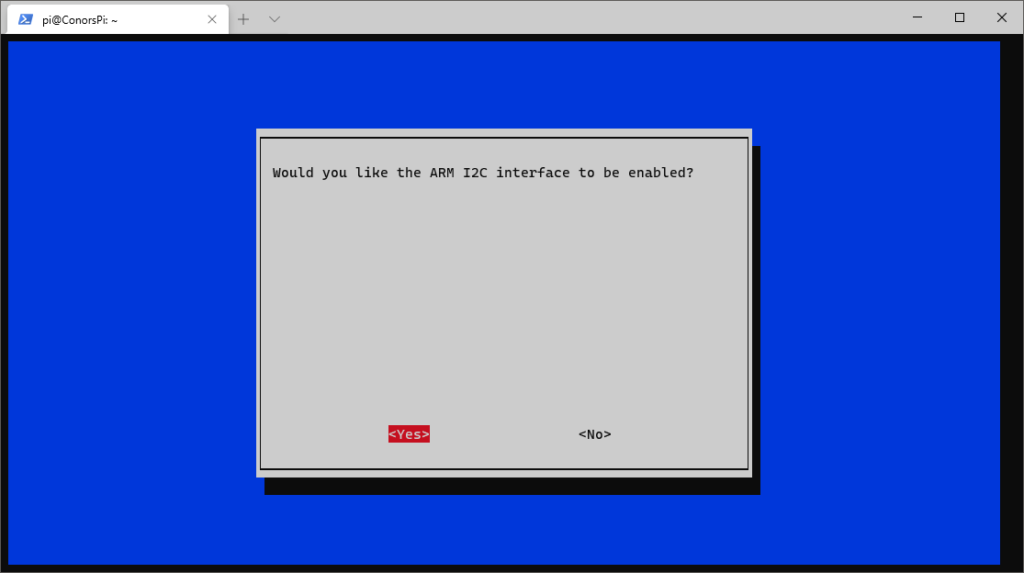
You will now be asked the following question on screen “Would you like the ARM I2C interface to be enabled?” – Select Yes to enable the I2C interface and click enter:
If successfully done, you should see the following screen:
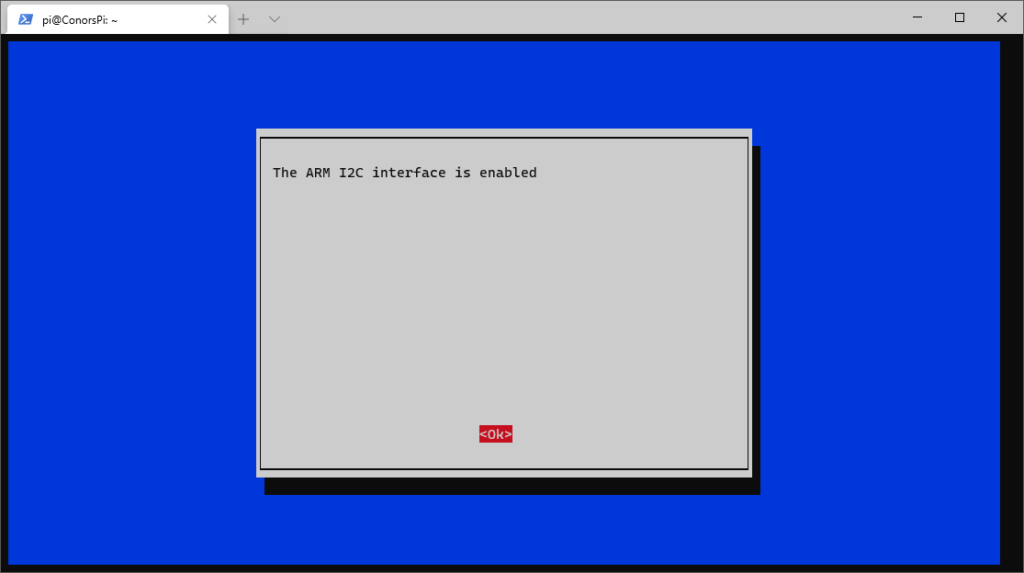
Click ‘Ok’ to finish the process. Finally, using the right arrow key navigate to ‘Finish’ and click enter:
And that’s it! Now I2C should be enabled and ready to use on the GPIO.
Method 2
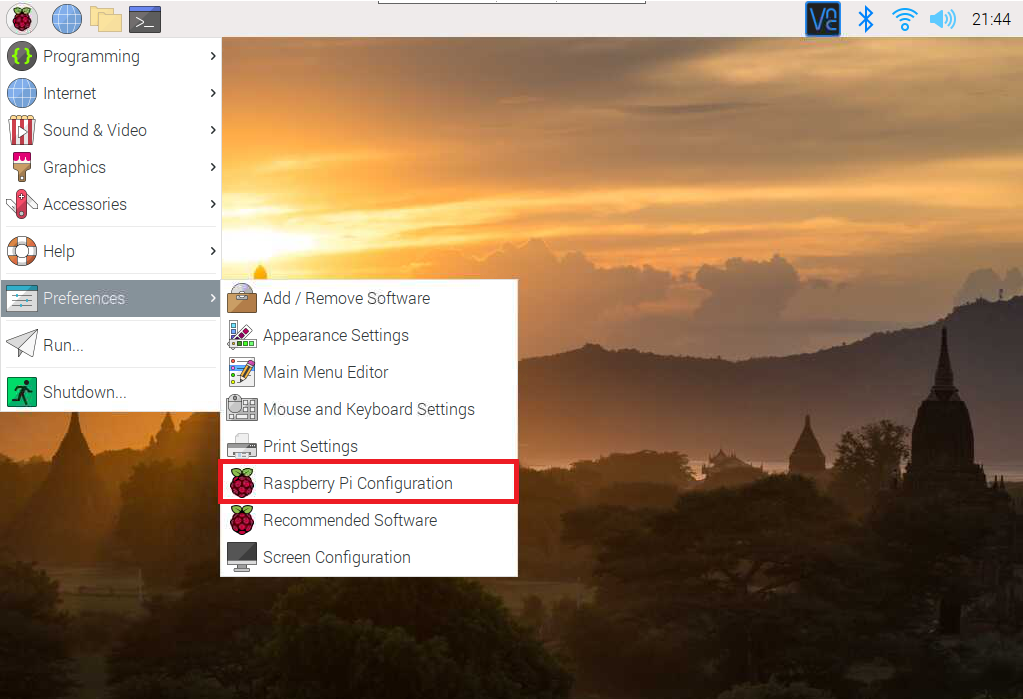
Let’s take a look at how we can enable I2C using the GUI. Click on the menu button in the top left of the screen, Preferences->Raspberry Pi Configuration:
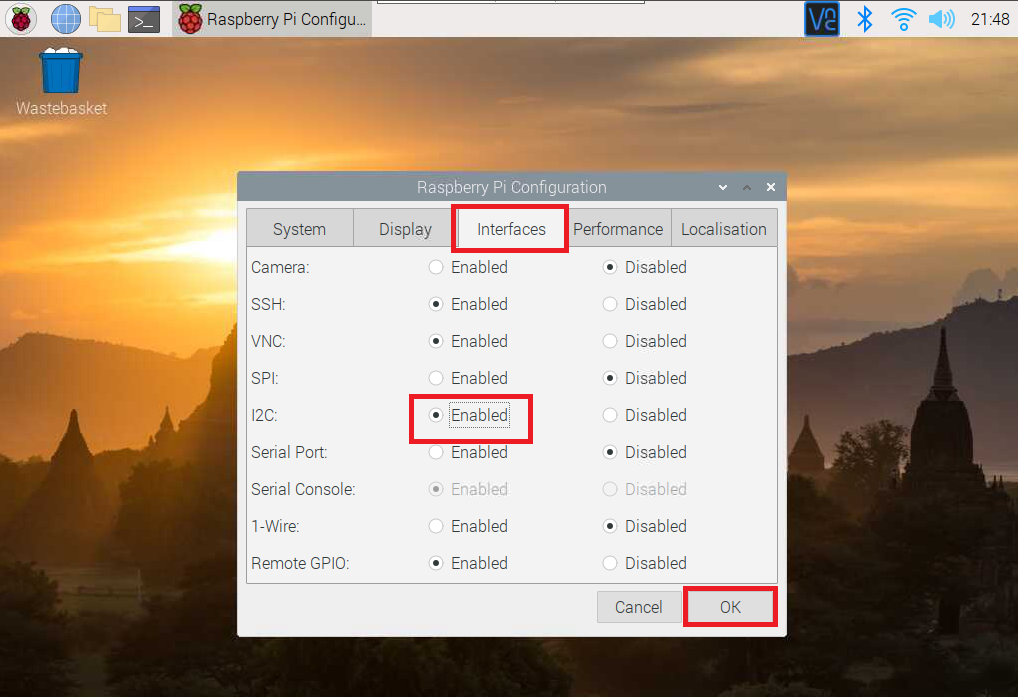
The Raspberry Pi Configuration window should open. Click ‘Interfaces’ in the top tab, navigate to I2C, click ‘Enabled’ and finally click ‘OK’:
And that’s it! Now I2C should be enabled and ready to use on the GPIO.