How to install an OS on the Raspberry Pi (Without a keyboard and monitor)
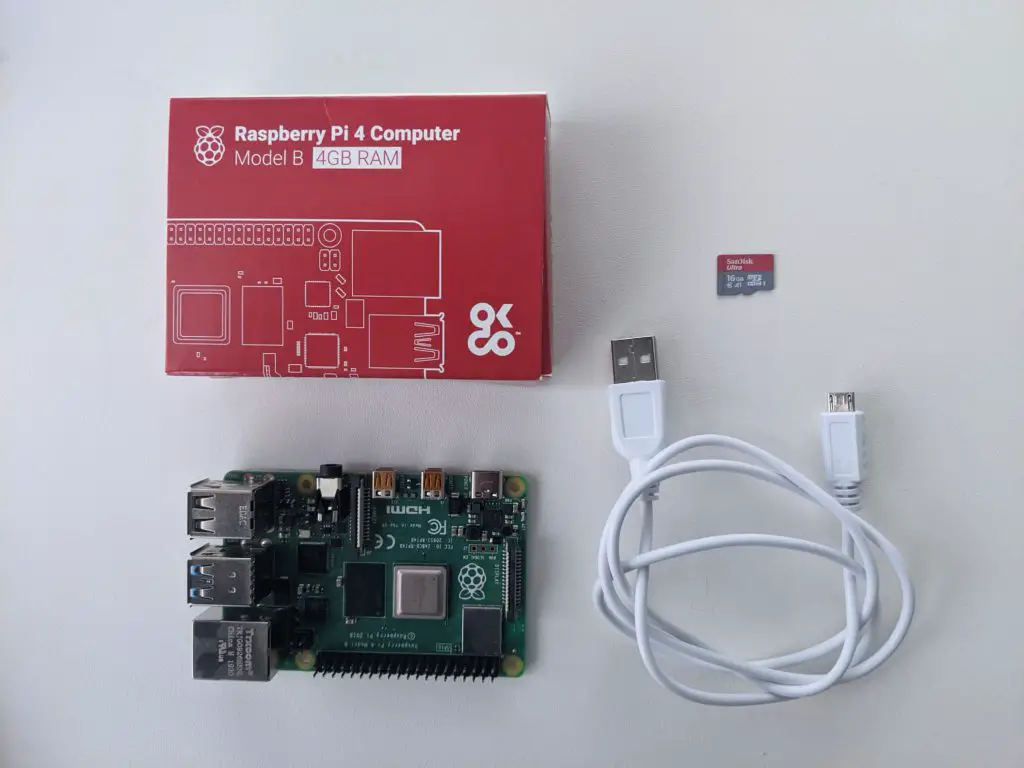
To get started with the Raspberry Pi 4 you will first need to install an operating system for the device to run. Raspberry Pi Imager is a great way to install an OS and get up and running quickly. You will need a Raspberry Pi, Power supply, and a SD card or micro SD card depending on the model.
Requirements
A Raspberry Pi
- Raspberry Pi 4 (2GB, 4GB, 8GB)
- Raspberry Pi Pico
- Raspberry Pi Zero (W)
- Raspberry Pi 3 A+
- Raspbery Pi 3 B+
- Raspberry Pi 3
- Raspberry Pi 2
| Pi 4 (2GB) | Pi 4 (4GB) | Pi 4 (8GB) | Raspberry Pi Zero W | Raspberry Pi 3 B+ |
| Raspberry 4 2GB @ Amazon | Raspberry Pi 4 4GB @ Amazon | Raspberry Pi 4 8GB @ Amazon | Raspberry Pi Zero W @ Amazon | Raspberry Pi 3 B+ @ Amazon |
Power Supply
Newer models such as the Raspberry Pi 4 use a USB-C power supply. All other models use a microUSB as their main source of power.
Micro SD Card
To get started with the Raspberry Pi 4 you will need to buy a micro SD card. I recommend at minimum a class 10, 16GB micro SD card. such as the SanDisk 16GB Ultra @ Amazon
I recommend getting a Raspberry Pi Starter pack such as the Canakit Raspberry Pi 4 Starter Kit (4GB RAM) @ Amazon
Installing an OS on the Raspberry Pi
Start by plugging your micro SD card into your computer.
Download and install the Raspberry Pi Imager (available for Windows, MacOS and Linux) here.
Once installed, you will see the following screen:
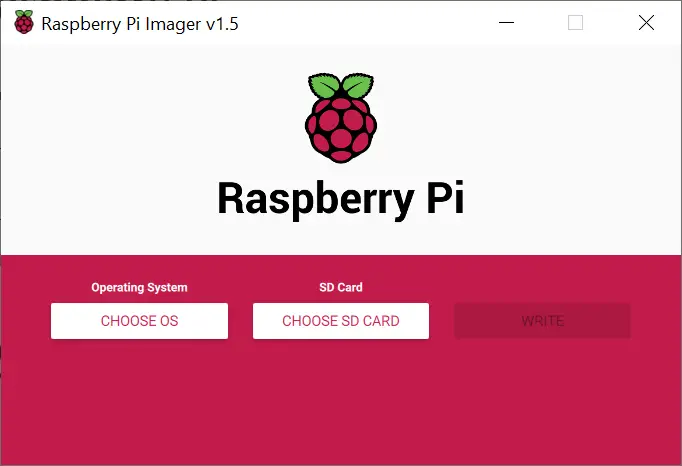
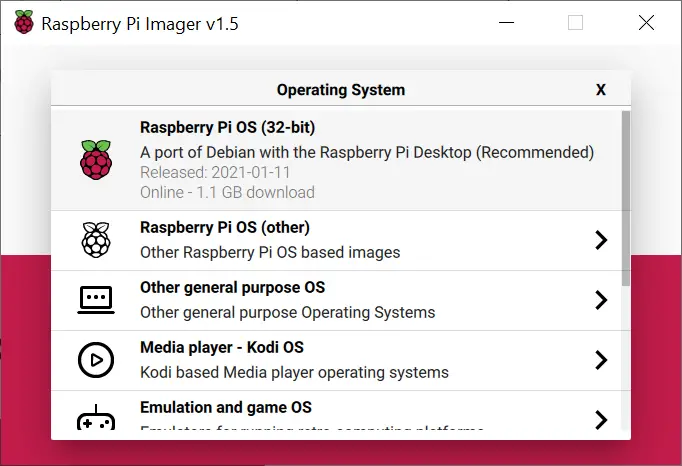
Click ‘CHOOSE OS’. I recommend installing Raspberry PI OS (32-bit) for all general purposes:
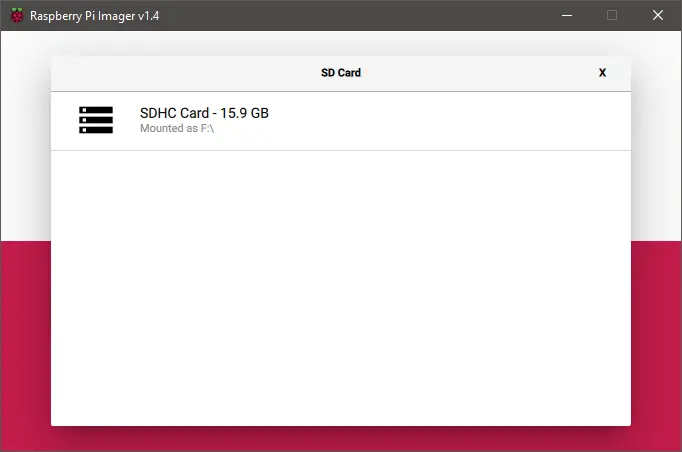
Continue by selecting your desired SD card:
And finally, click “Write”:
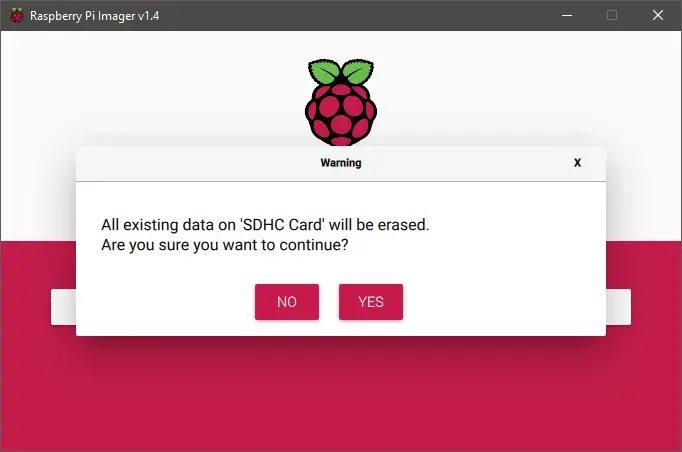
As the pop-up suggests, make sure that you don’t need any files that are on the card as it will be reformatted.
Booting up the Raspberry Pi
Headless install (Without mouse and monitor)
If you do not have a spare monitor and keyboard lying around fear not. It is easy to connect the Raspberry Pi to WIFI and ssh directly from your computer. To add your Raspberry Pi to your WIFI network, first, unplug your SD card from part one and re-insert the device. Navigate to the SD using the file explorer.
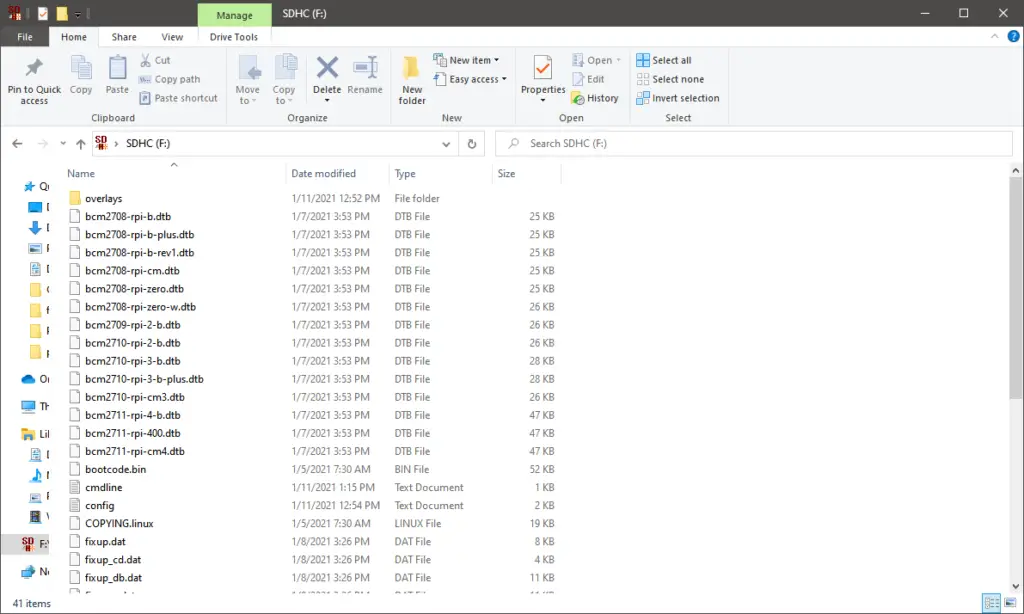
Open notepad++ or any similar text editor and paste the following contents
ctrl_interface=DIR=/var/run/wpa_supplicant GROUP=netdev
update_config=1
country=<ISO 3166-1 country code>

network={
 ssid="Wireless network name"
 psk="Wireless network password"
}
You will need to modify the country, ssid and psk fields in this file. ISO 3166-1 country codes can be found here. Here is an example of my configuration:
ctrl_interface=DIR=/var/run/wpa_supplicant GROUP=netdev
update_config=1
country=CA

network={
 ssid="ConorsNetwork"
 psk="ConorsPassword"
}
Save this file as wpa_supplicant.conf to the root of the SD card. Note: Make sure this is saved as a .conf file and NOT a text file

Now, in the same directory, create an emtpy file called ssh with no extension:

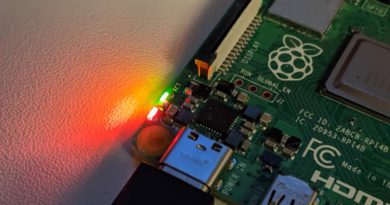
Remove the SD card, insert it into the Raspberry Pi, and power up the device.
Give the Pi about 1 minute to power up. After this try ssh-ing to the device. If you are running a Windows, Mac, or Linux machine you should be able to ssh into the device using pi as the username and raspberrypi.local as the host name:
C:\Users\conor> ssh pi@raspberrypi.localWhen you are prompted to add raspberrypi.local to your list of known hosts. Type yes and click enter:
The authenticity of host 'raspberrypi.local (raspberrypi.local)' can't be established.
ECDSA key fingerprint is SHA256:*************************.
Are you sure you want to continue connecting (yes/no)? yes
Warning: Permanently added 'raspberrypi.local' (ECDSA) to the list of known hosts.
pi@raspberrypi.local's password:
When prompted for a password type raspberry. You will notice as you type the characters will not appear. This is normal – Click enter when you are finished typing your password:
Linux raspberrypi 5.4.83-v7l+ #1379 SMP Mon Dec 14 13:11:54 GMT 2020 armv7l

The programs included with the Debian GNU/Linux system are free software;
the exact distribution terms for each program are described in the
individual files in /usr/share/doc/*/copyright.

Debian GNU/Linux comes with ABSOLUTELY NO WARRANTY, to the extent
permitted by applicable law.
Last login: Mon Jan 11 13:16:10 2021

SSH is enabled and the default password for the 'pi' user has not been changed.
This is a security risk - please login as the 'pi' user and type 'passwd' to set a new password.

pi@raspberrypi:~ $
If successful, you will see the message above and also the terminal prompt.
Congratulations, you have successfully installed an OS on your Raspberry Pi!