How to change the Raspberry Pi hostname
Today, I will show you how to change the Raspberry Pi hostname.
Start by logging on to your Raspberry Pi. You can do this by using ssh or by the GUI. If you are using the GUI, go ahead an open a new terminal.
The short answer:
- Step 1: Open a new terminal on the Raspberry Pi
- Step 2: Run ‘sudo raspi-config’
- Step 3: Open ‘System Options’
- Step 4: Navigate to ‘S4 Hostname’
- Step 5: Modify hostname
- Step 6: Reboot device
The default hostname of the Raspberry Pi is raspberrypi. This can be verified by running the following command:
hostnameOutput:
pi@raspberrypi:~ $ hostname
raspberrypi
Change the Raspberry Pi hostname
Now that you have verified your hostname, let’s change it. Launch the Raspberry Pi configuration tool with the following command:
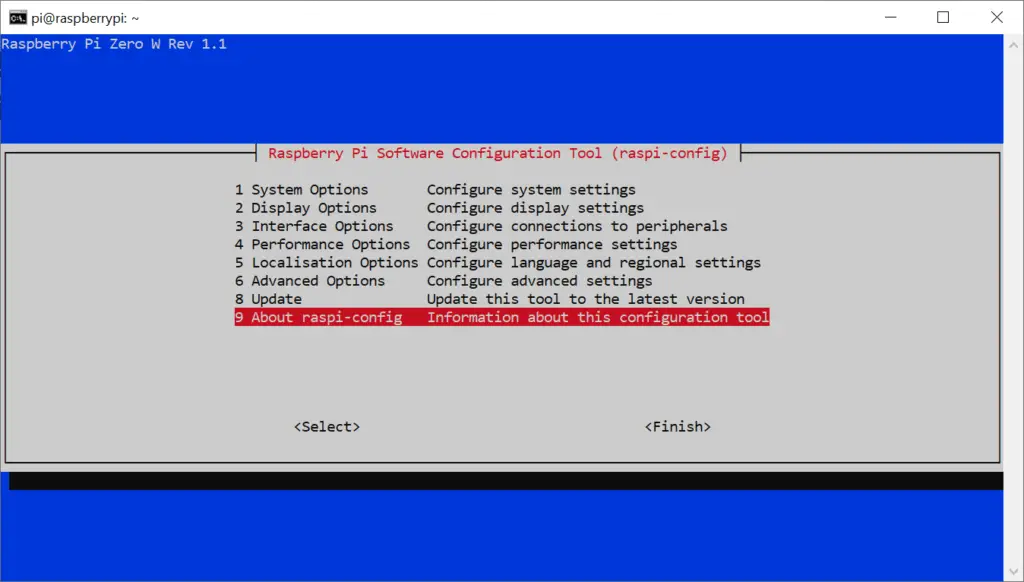
sudo raspi-configYou will be presented with the following screen:
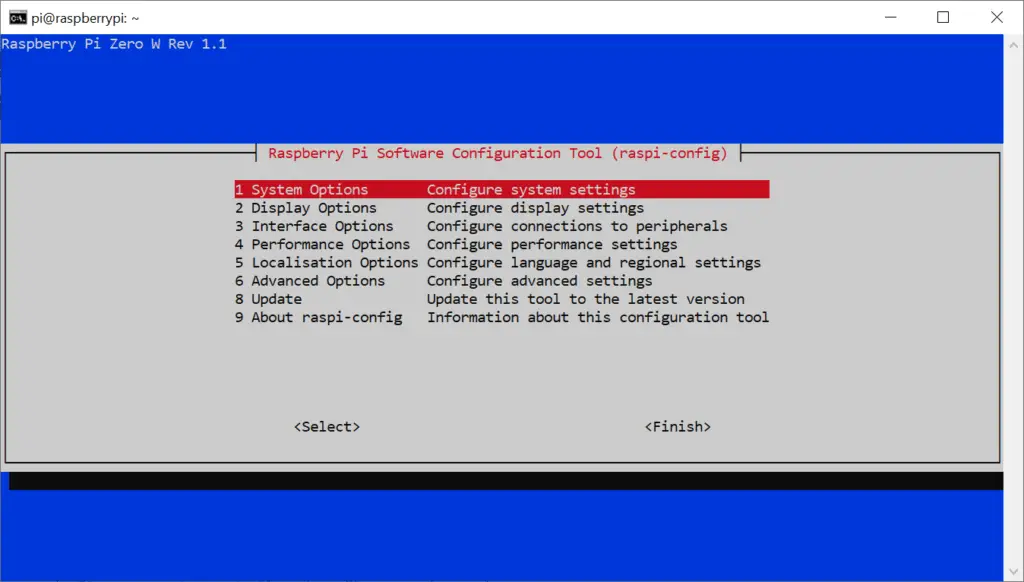
Click (by hitting enter) on the first option “1. System Options”:
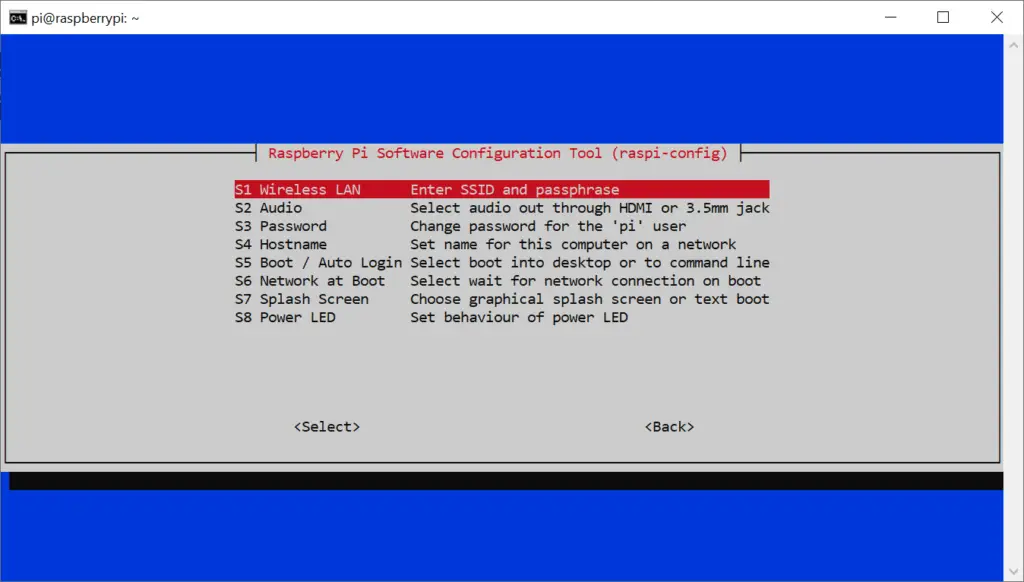
Using the up and down arrow keys. navigate to “S4 Hostname” and click enter:
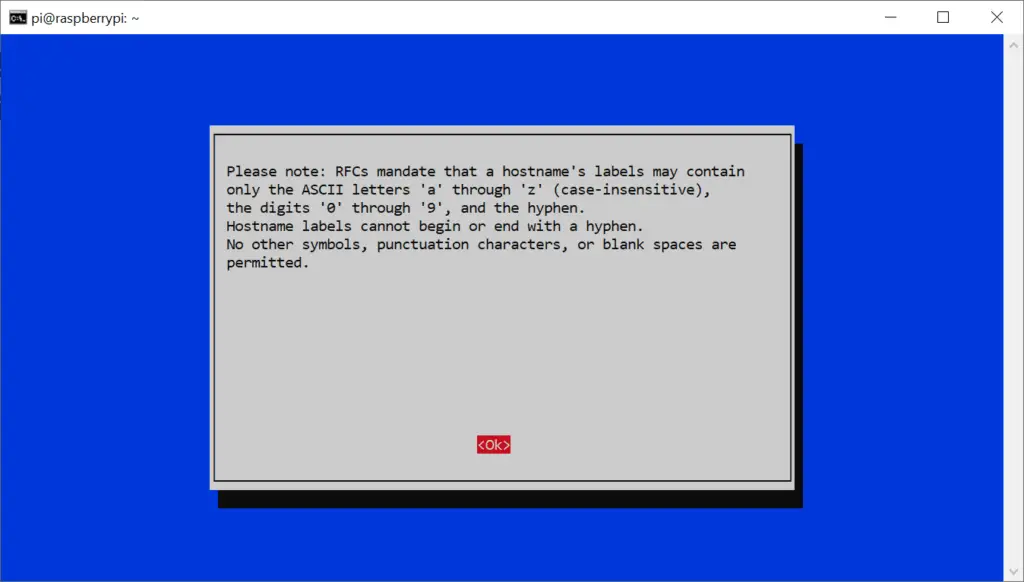
Read the instructions carefully and click “Ok”:
Now you can go ahead and choose a new hostname for your Raspberry Pi:
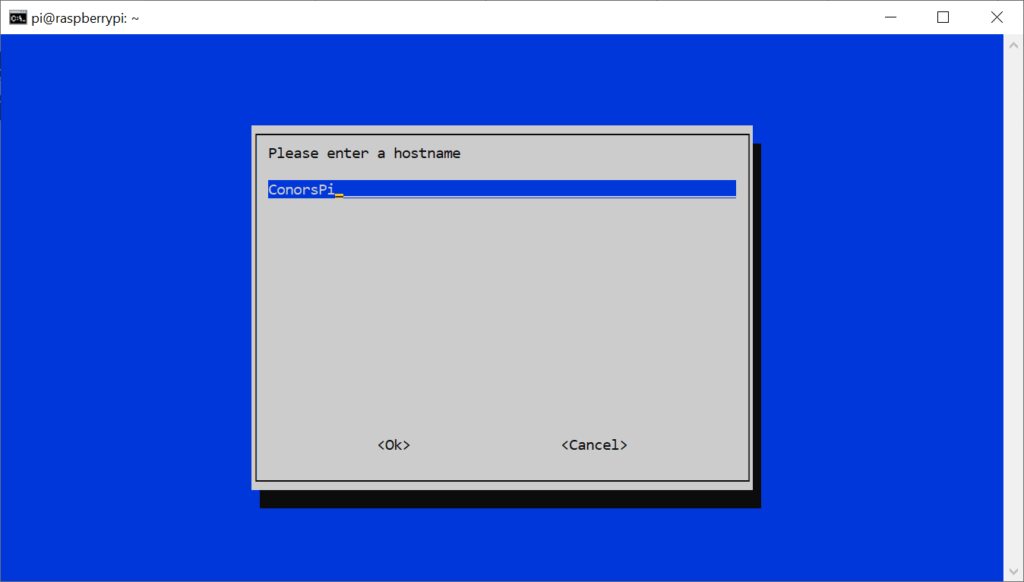
When you have typed the new hostname, use the down arrow key to navigate to “Ok” and click enter:
Once you get to the last option on the list, click the right arrow, navigate to “Finish” and click enter.:
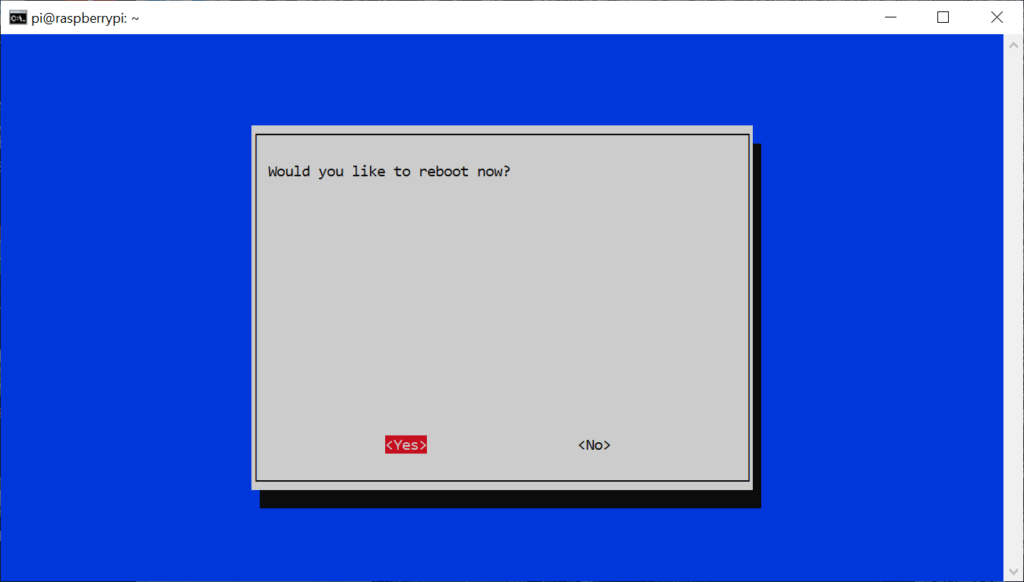
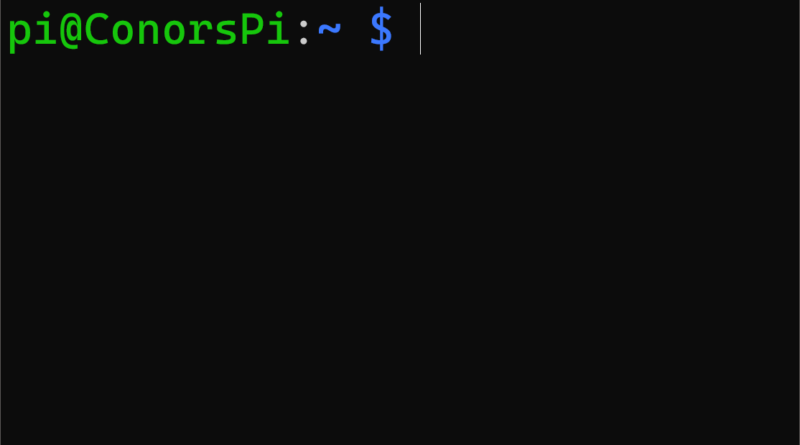
To change the hostname, you will need to reboot your Raspberry Pi. Go ahead and click “Yes”. Once the device has been rebooted, you will be able to see your new hostname in effect!
pi@ConorsPi:~ $Need a new project for your Raspberry Pi? Check out this Motivational Quote bot with an e-ink display!